


And because the cardboard I own wasn't good enough to use, I decided to use foam board.

Materials
2 Foam Boards (I got mine at the 99cent store for $2 each)
Razor blade carton cutter
Ruler / Pen / Glue
WARNING: THIS DIY CONTAINS THE USAGE OF MATH AND MEASURING.
Step 1.
Cut your foam board in half vertically.

The boards I got were 20inches by 30 inches. After cutting them, I obtained four 10inch by 30inch boards. Each board will be a different side to the table, with one board becoming the shelves.
Step 2.
Cut the following patterns out of each board. I suggest labeling each board and writing which side will be the top and bottom. It'll help you be more organized and you won't be as confused later when you assemble them.
Also try using a sharp razor if you can. The one I used was pretty dull and therefore I didn't get sharp, nice, clean cuts and some of the paper from my foam board ripped off. It wasn't until much later that I realized that I can flip the blade but by then it was too late.

If you're using a foam board with the same measurements as mine, here are the measurements I used for cutting out the sides. The 'Back' cutouts use the same measurements - just make sure to leave a half inch on each side and then follow the same pattern.
The measurements I made don't necessary have any meaning. I kind of winged it when making the measurements, but it worked, so if you have something else in mine, feel free to do that instead.

Please excuse my poorly drawn pictures, not drawn to scale*
The shelves measurements will be as follows. From your 10x30 inch board, you will cut that into three 10x10 boards. Keep one of these boards as a 10x10, while cutting the other two into a 9.5x10. You will then cut 1/2inch x 1/2inch square from each corner of the two 9.5x10 boards.

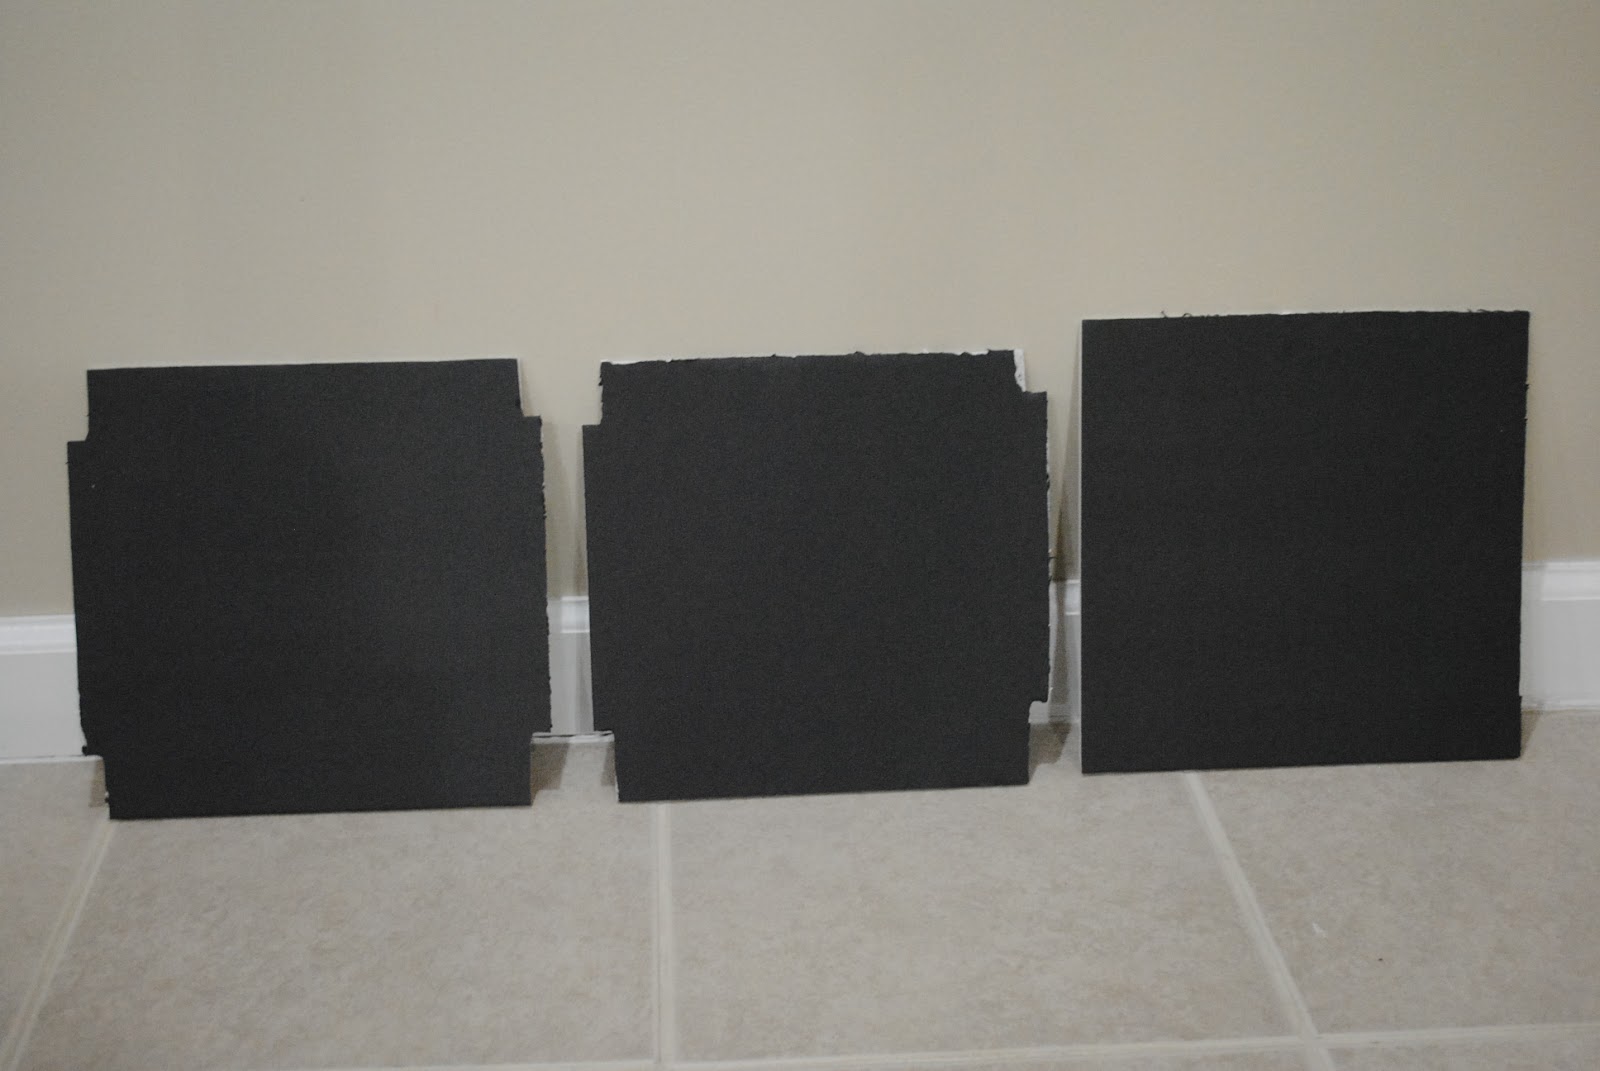
After you cut out all your patterns, you're boards will look something like this.
Left Side:

Right Side:

Back:

Shelves:
Step 3.
Connect all the pieces! I suggest connecting the shelves to the sides first, and then snapping on the back. Glue the top shelve on last. If you prefer to do so another way, go for it!
You'll end up with something like this once you put it all together.


Now, go place it somewhere & put stuff on it!


& for those non-believers, it really does hold that much weight. (and more!)


